Saturday, May 31, 2008

Wide cuff watch straps coming soon!

So Violet bought me a new watch for my birthday, nothing special just something that I liked and tells time. The strap broke after a week! I was looking around the internet yesterday to find a solid looking strap, preferably a wide cuff type, but they were all twenty dollars! So I gave up and picked up a hook.

I have ventured into this project a while ago. In fact Debbie Stoller showed interest in the one I had posted on Craftster a few years ago she didn't choose it for her book, but it was exciting. Besides it was only a crocheted rectangle and the watch face was sewn onto it, there wasn't much to it.

Anyways, I took a few cue's from the leather made watch straps on the internet and crocheted a nice black acrylic watch strap. I really like it! I does seem to stretch out so I'll have to solve that problem, but that shouldn't prove to be that hard. This design allows for a lot of customization, I can add things like appliqués, narrower strap, single straps, and maybe button clasps for the strap and the watch face, not to mention all the color's. Once I figure out how to stop the stretch this will definitely be added to my Etsy shop Pirate Crochet.

P.S. sorry for the bad pictures it's hard to get a good photo of black objects with no sun.


----------------
Now playing on iTunes: The Dead Kennedys - Forward To Death
via FoxyTunes

Sunday, April 13, 2008

Captain Hooks

Just a quick news flash from the Captain, Pirate Crochet will soon be selling pirate themed crochet hooks, mostly "I" hooks since it is seemingly the most common, they will be made of wood, hand painted, with some possible polymer clay.

Tuesday, April 1, 2008

Severed Goblin Gloves!

Aye! they're finally here fingerless gloves at pirate crochet! The Severed Goblin Gloves are warm and cozy, and they'll fit great without bulkiness. Check them out Severed Goblin Gloves.

Sunday, March 9, 2008

NEW ITEMS!

I've posted these over at my Etsy Shop - Pirate Crochet but here's a list of new things that I have finished.
This is what I am calling the Classic Pirate, since to me it brings to mind images of pirates wearing those red and white striped bandanna's.


I like to call this one blood flow, because at some point a pirate is going to get a sword in the skull and the blood will flow.


The crosshatch puff stitches are the crossed bones of fallen brothers of the pirate brotherhood.


Sunday, February 10, 2008

WHOA!

For all of those who care and or read this little blog I hereby promise to upload pictures and descriptions of all of my recent hats, and all of the crochet objects that I have on hand by the end of the week. I will showcase all of them on my blog in one immense post, on my ravelry, and some will make it onto my Etsy shop. For me this is a huge promise but my word is my bond. Now I'm going on break.

kellen

Wednesday, January 23, 2008

Lidsville help

I thought I post a blog about the Lidsville hat about some of the assembly directions. Some are having problems and I totally realize that it is awkwardly worded. Basically you just slip stitch all the sides of each piece together. So if you put all the "Back" pieces together in a row slip stitch each touching side. Those pieces crochet together will pinch the top so that it folds over. The "Top" piece will be slip stitched to the "Back" pieces from the ninth row of one "Back" piece to the ninth row of the other "Back" piece on the other side, slip stitching evenly across counting the four tips of the back piece as one stitch. The "Side" pieces will be slip stitched to the "Back" piece and "Top" piece. With the angled edge facing the "Top" piece slip stitch the "Side" on starting from the first row of one of the "Back" pieces continuing down the edges of the "Top" and "Side" piece to the end. Finally the really weird part, the brim, if you are just using plastic canvas follow Brim A if you are using a rounded hard plastic piece from a hat follow Brim B.

BRIM A)
The Brim is slip stitched on to the "Top" piece and along the bottom edges of the "Side" pieces. You will be slip stitching along the front of the brim. Turn the unfinished hat inside out and starting at about half of the "Side" piece slip stitch the Brim along the bottom edge of the "Side" piece and continue along the edge of the "Top" piece then continue along the edge of the "Side" piece until you reach the end of the brim. This will keep your slip stitches hidden.

BRIM B)
You will basically be doing the same work just make sure you hold the brim so it curves away from you not towards you, so the brim is right-side up when you turn it right-side out.

then you might want to do a single crochet around the bottom of the "Back" piece and the "Side" pieces and slip stitching along the inside curve of the brim.

Tuesday, January 22, 2008

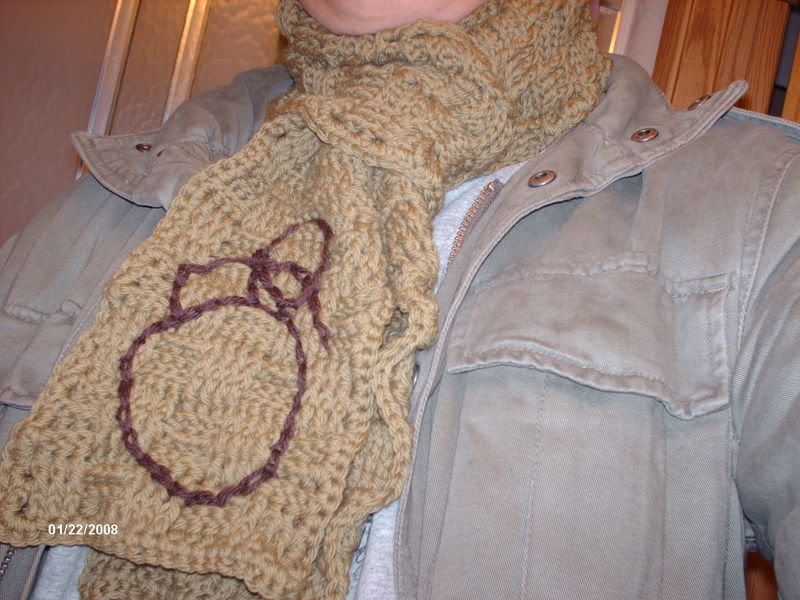
GRENADE!! DUCK AND COVER!!

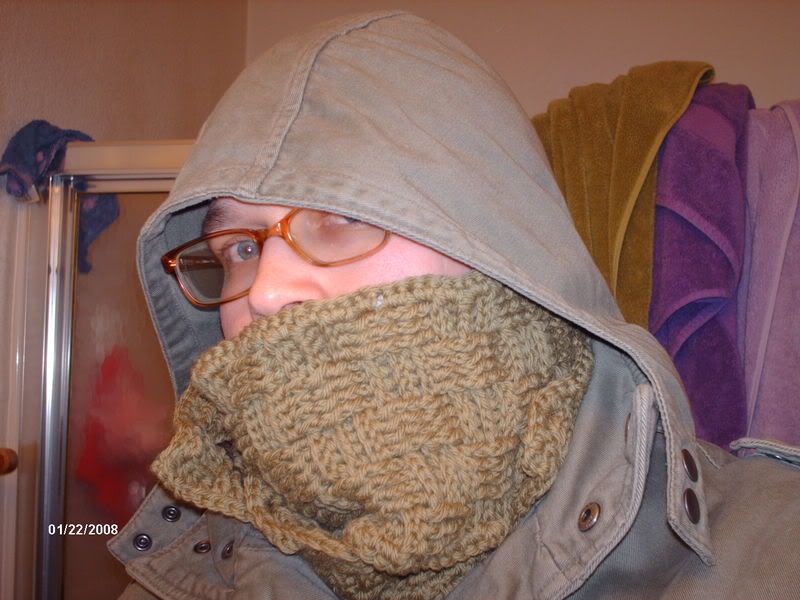
Yeah my grrlfriend saw an angel! I don't know about that. I like it I suppose. I really like the scarf grenade or not! This is actually the first scarf I've ever made for myself and only the fourth scarf I've ever made.


basic basketweave stitch pattern


duck and cover